Have any questions? Contact us!
Join our team!
Request a free quote or consultation

If you’ve ever worked with reinforced concrete, you already know the steel isn’t just tossed in there randomly. It follows a plan – and these days, that plan often lives in a 3D model. Rebar modeling is the process of building out that reinforcement digitally, inside a BIM environment, before a single bar is bent or placed on-site.
This might sound like just another layer of documentation, but it’s not. It’s where design, structural intent, and constructability come together. In the right hands, rebar modeling can uncover clashes before they cause delays, streamline fabrication, and save serious time during construction. Let’s break down how it actually works, and why more teams are moving toward it – not just for precision, but for peace of mind.
Rebar Modeling: from 2D Symbols to Full 3D Control
Let’s start with the basics. Traditionally, rebar detailing was done in 2D. Engineers calculated the reinforcement area using design software or spreadsheets, and draftsmen produced AutoCAD drawings with symbolic representations of the bars. It worked… until it didn’t.
Clashes went unnoticed. Quantities were off. Engineers and modelers worked in silos, and by the time issues were caught, it was too late or too expensive to change course.
Rebar modeling flips that script. In a BIM environment, reinforcement is built out in full 3D using tools like Revit or Tekla. Every bar is placed with intent: correct size, shape, spacing, and location. It’s not just visual either. Each bar carries data that drives schedules, quantities, and coordination.
What Makes Rebar Modeling Different?
At its core, rebar modeling is about accuracy, coordination, and predictability. But it’s more than just a better visual of what’s inside the concrete. Here’s what sets it apart:
- Data-driven modeling: Every rebar object includes metadata like bar type, length, diameter, and material.
- Real-time collaboration: Engineers and modelers work in the same file, updating and validating the design continuously.
- Clash detection: Reinforcement is coordinated with MEP, formwork, and other structural components before hitting the site.
- Automatic documentation: Bar bending schedules (BBS), shop drawings, and quantity take-offs are generated directly from the model.
Instead of juggling PDFs, Excel sheets, and redlines, everything lives in one place.
Rebar Modeling That Connects Design to Construction

Our Powerkh is a UK-based company with offices in Ukraine and the USA, providing rebar modeling, detailing, and fabrication services for the construction industry. We work with engineers, contractors, and project managers to streamline the construction process, focusing on accuracy and efficiency from design to completion.
Using software like Tekla Structures and Revit, we deliver precise rebar detailing that helps visualize reinforcement placement within a structure. This improves coordination among project teams and reduces the risk of errors, which helps keep projects on track and within budget.
In addition to rebar modeling, we offer detailing services that meet industry standards and regulations. Our approach ensures the reinforcement plan aligns with the project’s structural needs, making sure that rebar installation is well-planned and executed across all types of construction projects, whether commercial, industrial, or residential.
Key Highlights:
- UK-based company with offices in Ukraine and the USA
- Specializes in rebar modeling, detailing, and fabrication
- Utilizes advanced software like Tekla Structures and Revit
- Focuses on accuracy and efficiency throughout the construction process
- Reduces errors and rework, ensuring timely project delivery
- Serves a wide range of construction projects: commercial, industrial, and residential
Services:
- Rebar Modeling
- Rebar Detailing
- Rebar Fabrication
- Structural Reinforcement Planning
- 3D Visualization of Rebar Placement
- Compliance with Industry Standards and Regulations
Rebar Modeling Isn’t Just for Big Projects
A common myth is that rebar modeling is overkill for small or medium jobs. But the reality is, any project involving reinforced concrete can benefit. Whether you’re dealing with a tight foundation, a complex precast element, or a congested structural node, modeling can reveal issues that flat drawings can’t.
And it’s not just about catching mistakes. On smaller jobs, efficiency matters even more. Time lost on rework or confusion hits harder when the margins are thin.
What the Workflow Looks Like (In Real Life)

Every team does things a little differently, but when you boil it down, rebar modeling tends to follow a clear rhythm. Here’s how it usually plays out inside a BIM-driven workflow:
1. Review the Design
Everything starts with the structural engineer’s intent. This includes load requirements, reinforcement zones, bar spacing, and performance criteria like deflection limits or crack control. Sometimes this comes from a detailed analytical model, and other times it’s a combination of sketches, spreadsheets, and conversations. Either way, it’s the modeler’s job to translate that intent into something constructible.
2. Build the Geometry
Using software like Revit, modelers start by creating accurate 3D representations of the concrete elements: slabs, beams, walls, columns, and so on. It’s important to get this geometry clean and consistent early on, because every piece of rebar will reference it. If the geometry’s off, the rest falls apart pretty quickly.
3. Place Rebar Objects
This is where the detailed work begins. Rebar is placed according to the design specs, structural codes, and typical reinforcement practices. Bars are selected by type, diameter, shape, and hooked ends if needed. They’re spaced correctly, grouped into partitions or cages, and tagged with the right parameters for scheduling. It’s not just about getting the bars into the model – it’s about making sure they make sense in the real world.
4. Coordinate with Other Trades
Once the rebar is in, the model needs to be checked against everything else. That means verifying clearances with formwork, inserts, sleeves, and any MEP systems running through the concrete. Coordination doesn’t just happen once – on a good team, it’s an ongoing conversation. If there’s a rebar mat blocking a duct or a sleeve cutting through a beam cage, it needs to be caught now, not after the pour.
5. Run Clash Detection
With the model coming together, it’s time to run clash detection. Tools like Navisworks or Revit’s own interference checks help flag where things collide – bar to bar, bar to embed, bar to pipe. Some clashes are minor and easy to fix. Others reveal deeper design problems. Either way, this step helps avoid the classic on-site scramble to “figure it out.”
6. Generate Documentation
Once the model is solid, it’s time to pull documentation. This includes 2D shop drawings, bar bending schedules (BBS), and quantity take-offs. Because the data lives in the model, you’re not redrawing or retyping anything. Most teams have templates for different views: plan, section, isometric. The goal is to create drawings that fabricators and site crews can actually build from – clearly labeled, clash-free, and complete.
7. Quality Review
Before signing off, teams usually run a visual check. A common trick is using color-coded views where each rebar type or diameter has a different color. That makes it easier to spot errors or inconsistencies, like mismatched bars or missing links in a beam cage. It’s also where experienced modelers catch small issues that automated checks might miss.
Why Rebar Modeling Has Become Essential
You might wonder why this process is becoming more common now. It’s partly because projects have gotten more complex, but also because BIM tools have improved. Still, the driving reasons go beyond software:
- Tighter schedules mean less room for error.
- Prefabrication and automation require precise input.
- Contractors want predictability on site.
- Owners demand better control over cost and quality.
And maybe most important of all: everyone’s tired of last-minute surprises.
Benefits That Go Beyond the Model
Rebar modeling isn’t just about making the drawings look neat. When it’s done right, it changes how teams collaborate, how decisions get made, and how smoothly things run on-site. The improvements show up not only in the model but in the way the entire project plays out.
Better Coordination
When everything’s modeled in a shared 3D environment, coordination gets a whole lot easier. Structural, architectural, and MEP teams are no longer working in silos or trying to decipher overlapping PDFs. Instead, everyone’s looking at the same live model. Changes are visible in real time, and clashes get caught early. It reduces finger-pointing and turns coordination into a proactive part of the workflow rather than a last-minute scramble.
Fewer RFIs
In the old days, a vague or missing detail on a 2D drawing would mean an RFI, then a wait, then maybe a site delay. With rebar modeling, those details are often clarified upfront. Bars are visible in 3D, placement is precise, and ambiguity is minimized. It doesn’t eliminate RFIs completely, there’s always some back-and-forth, but it definitely cuts down the volume and speeds up responses.
Improved Safety
When reinforcement layouts are coordinated ahead of time, there’s less improvising in the field. Workers aren’t forced to bend bars on the fly or work around unexpected conflicts, which makes for a safer job site. Fewer surprises mean fewer shortcuts, and that helps prevent the kind of accidents that happen when people are rushed or unsure.
Faster Fabrication
Because all the necessary details are already embedded in the model, bar bending schedules and shop drawings can be generated with just a few clicks. That saves time, reduces human error, and ensures that what gets fabricated actually fits the structure as designed. It’s a cleaner, faster pipeline from the model to the rebar yard.
Accurate Quantity Take-Offs
Instead of estimating based on rules of thumb or combing through spreadsheets, teams can pull precise quantities directly from the model. You get total bar lengths, weights, and counts that are accurate to the millimeter. That helps with budgeting, ordering, and minimizing waste, especially useful when margins are tight or material prices are volatile.
Implementation Tips That Actually Work
If you’re thinking about bringing rebar modeling into your workflow, start small and smart. Here’s what actually makes the difference:
- Set up custom Revit families early. Define all standard rebar types and materials before modeling begins.
- Create quality control views. Assign colors to different bar types so errors are easy to spot visually.
- Freeze design phases when needed. Avoid changes mid-modeling that can cause rework or confusion.
- Train everyone involved. Drafters, engineers, and project managers should all understand the process.
- Pilot on a simple structure. Pick one slab or beam to model first. Don’t go all in on a full building without testing your workflow.
Common Challenges (and How to Avoid Them)

Let’s be honest – this isn’t plug-and-play. Rebar modeling has a learning curve. These are a few real-world challenges and how to handle them:
- Congested nodes: Complex intersections can get messy. Use filters and grouping to simplify visualization.
- Incomplete design info: When structural input is vague, modelers have to raise RFIs. Build in time for back-and-forth.
- Software limitations: Some geometry (like complex curved forms) still pushes BIM tools to their limits. Stay aware of those edge cases.
In short, don’t expect perfection out of the gate. But if you commit to the process, the long-term payoff is real.
So, Is Rebar Modeling Worth It?
If you ask most teams who’ve tried it, the answer is yes. The first few projects might take longer while everyone gets up to speed. But once the workflows are in place, you get:
- Fewer errors.
- Smoother coordination.
- Better drawings.
- More accurate schedules.
- Faster construction.
That’s a hard combo to ignore.
Rebar modeling isn’t just a “nice-to-have” anymore. It’s quickly becoming a standard expectation, especially on projects where rework costs time, money, and trust.
Final Thoughts
Rebar modeling might not be flashy. You’re not designing facades or flying through virtual walkthroughs. But that’s exactly the point. This is the work that keeps everything else standing.
If you’re in the world of concrete structures, it’s worth getting this right. Whether you’re modeling in-house or working with a partner, rebar modeling is one of the smartest ways to bring clarity, control, and coordination to your project.
It won’t fix everything, but it will save you from a lot of the chaos that used to feel inevitable.
FAQ
What’s the difference between rebar modeling and rebar detailing?
Rebar modeling is about placing every bar digitally inside a 3D concrete structure, often in tools like Revit or Tekla. It focuses on geometry, positioning, and coordination. Rebar detailing goes a step further by producing shop drawings, bar bending schedules, and fabrication-ready documentation. So, you could say modeling shows how things fit, while detailing shows how they get made.
Is rebar modeling worth it for small projects?
Honestly, yes, especially if the structure has a lot going on, like dense reinforcement or tight clearances. Even a single slab with embedded services or awkward geometry can benefit from being modeled in 3D. It might feel like overkill at first, but it usually saves time and stress once construction kicks off.
How detailed should the rebar model be?
It depends on the purpose. If it’s just for clash checks and coordination, LOD 300 might do. But if you’re planning to generate shop drawings and bar schedules straight from the model, you’ll want to push into LOD 400 or higher. The key is making sure the model is detailed enough to support whatever decisions or outputs you’re trying to get from it.
Can rebar modeling help reduce construction errors?
Absolutely. A well-built model helps catch things early like bars clashing with ducts or embeds sitting too close to cover zones. It also means installers aren’t guessing or trying to interpret a flat section with 10 overlapping notes. The more clarity you bring up front, the fewer mistakes you deal with later.
Our Case Studies
We have handled 200+ BIM & VDC projects for commercial, industrial, and residential sectors.
Our work includes:
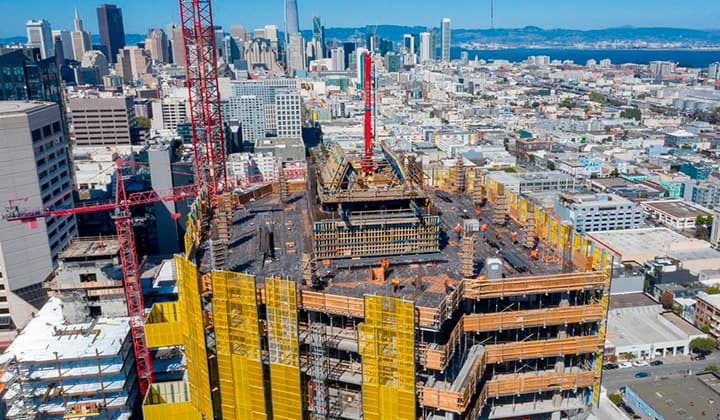
Formwork design automation
Our client from
California, USA
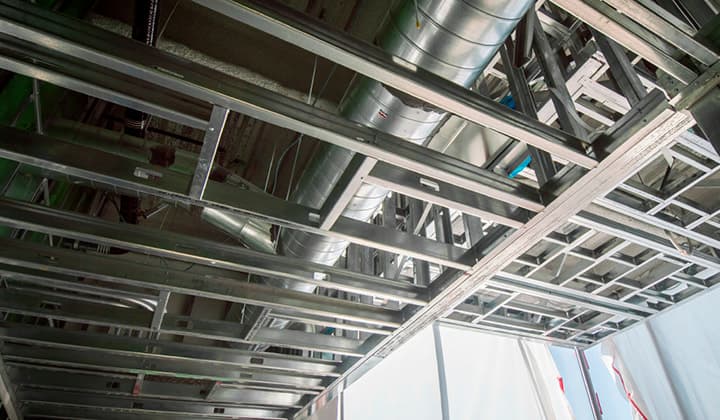
Suspended ceiling design automation
Our client from
New York, USA
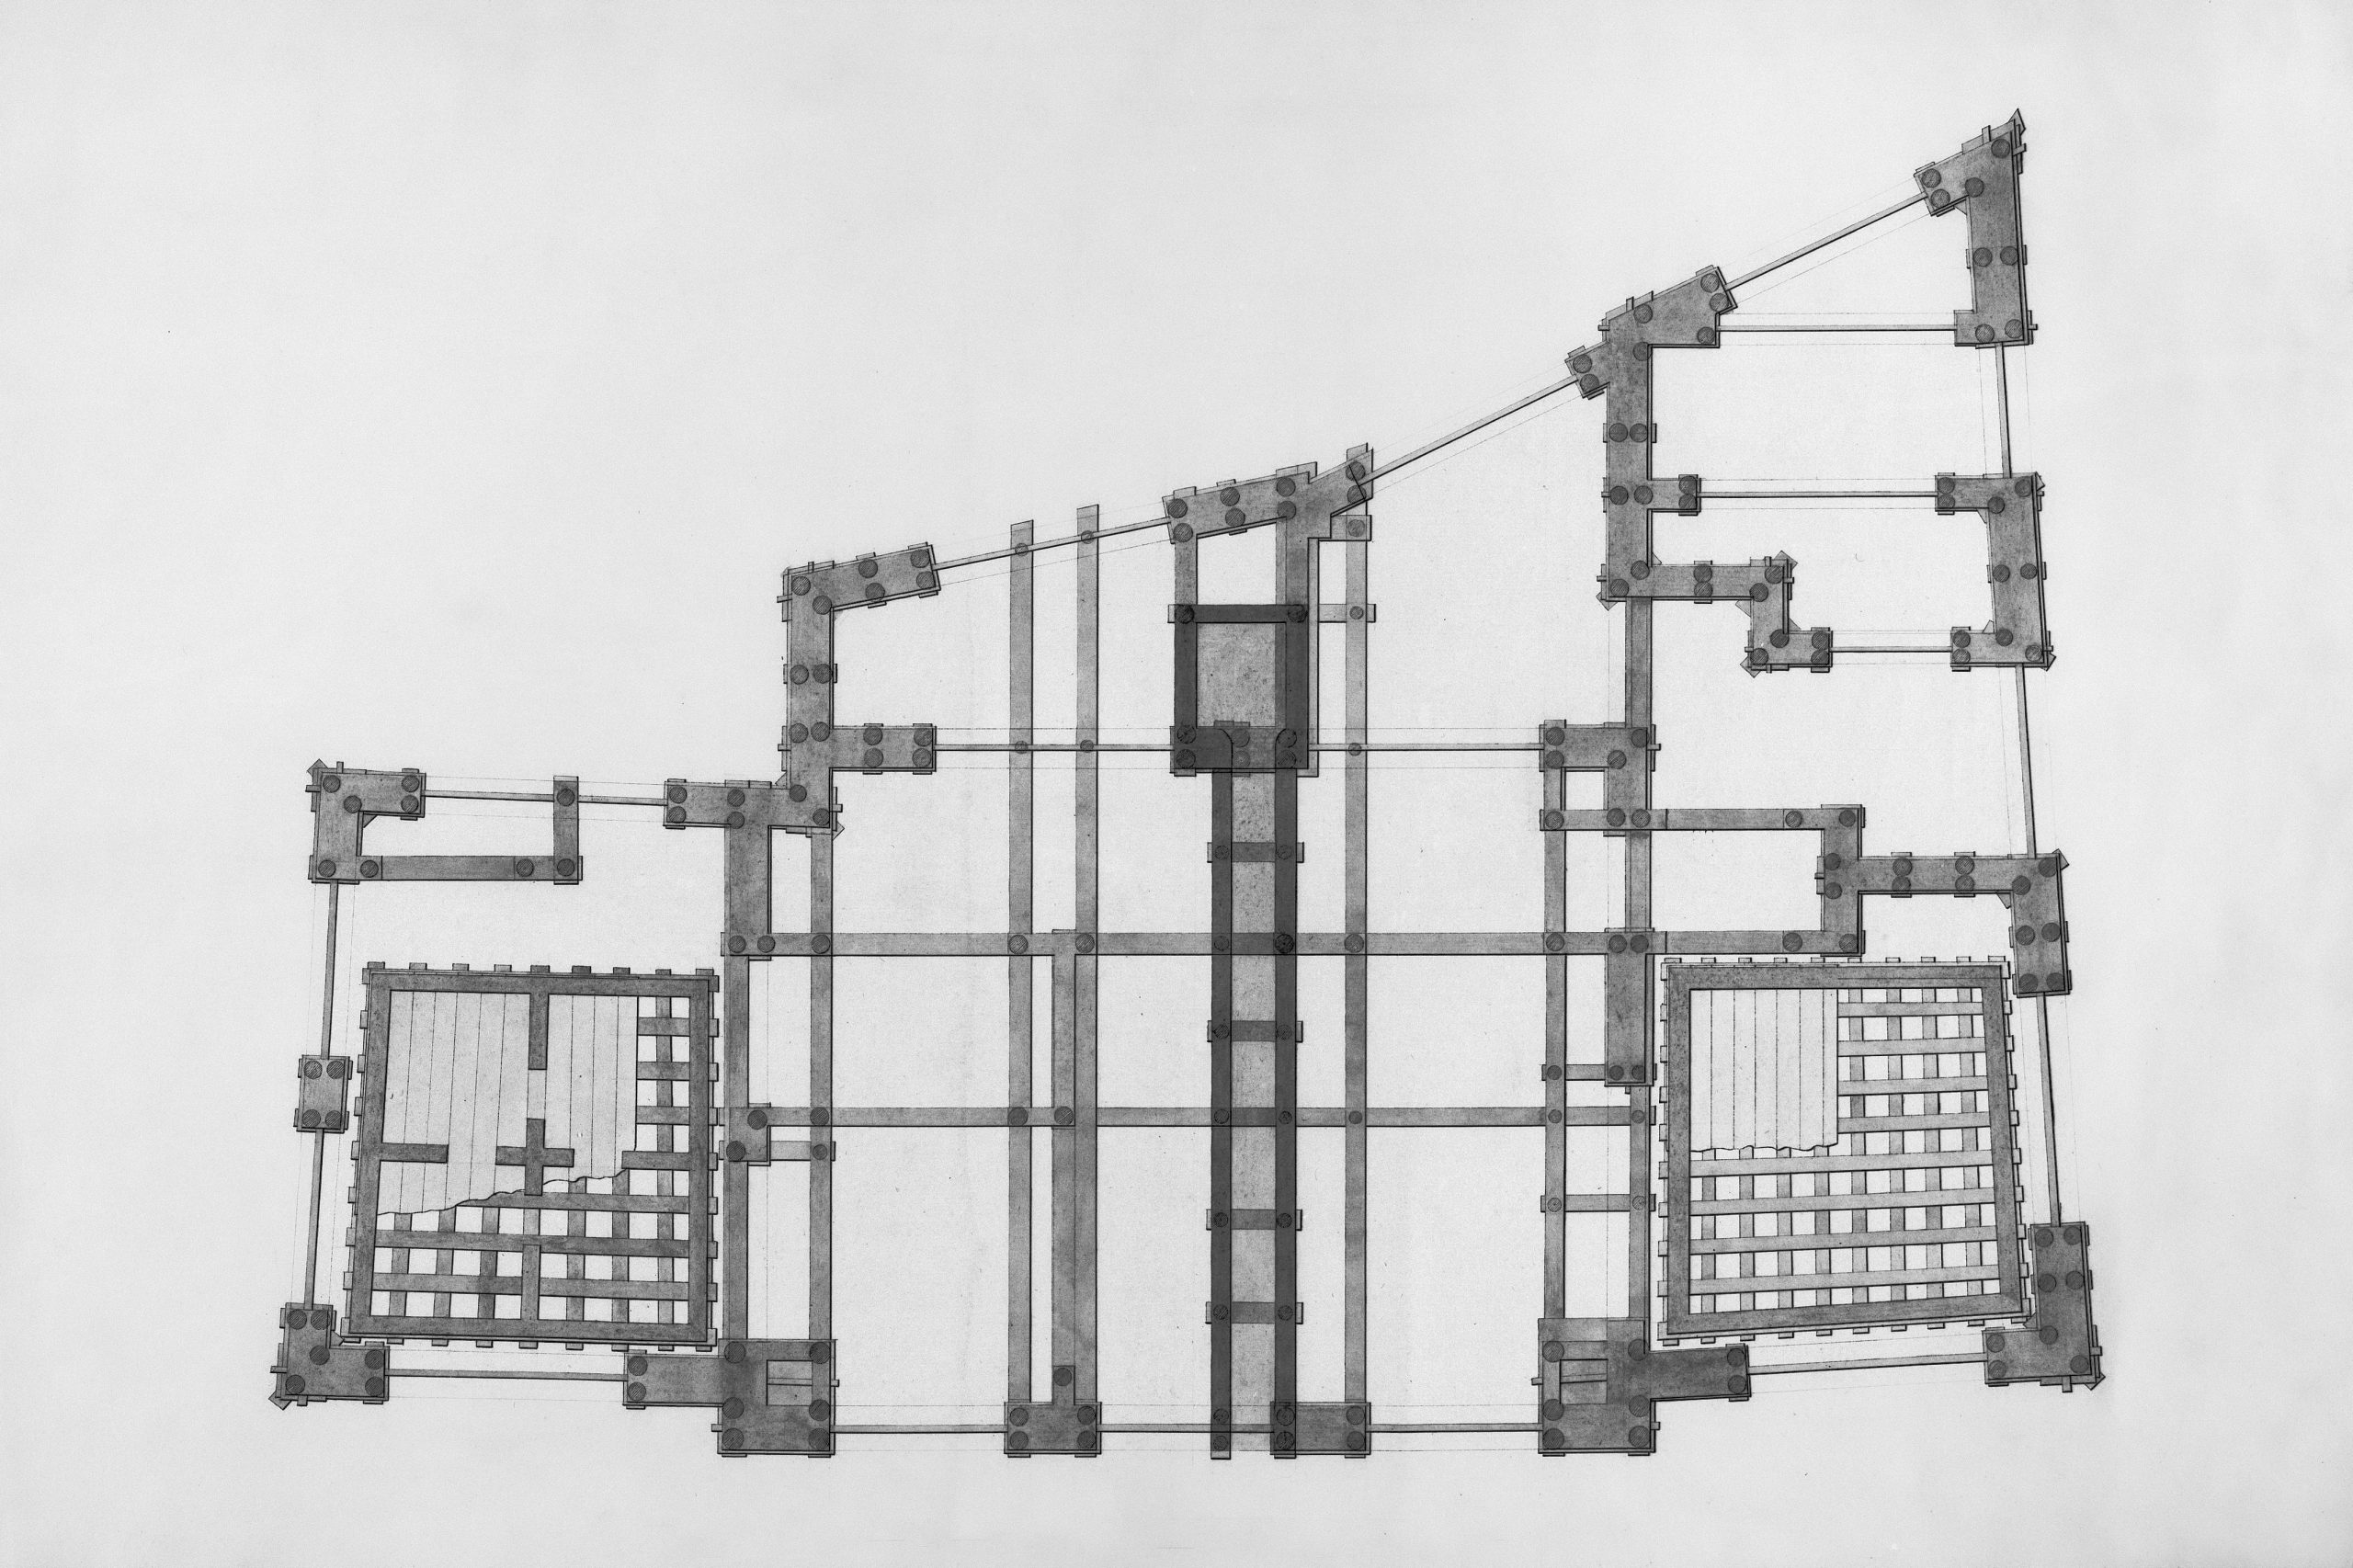
Wall framing design automation
Our client from
California, USA